
 Imtiaj Hossain
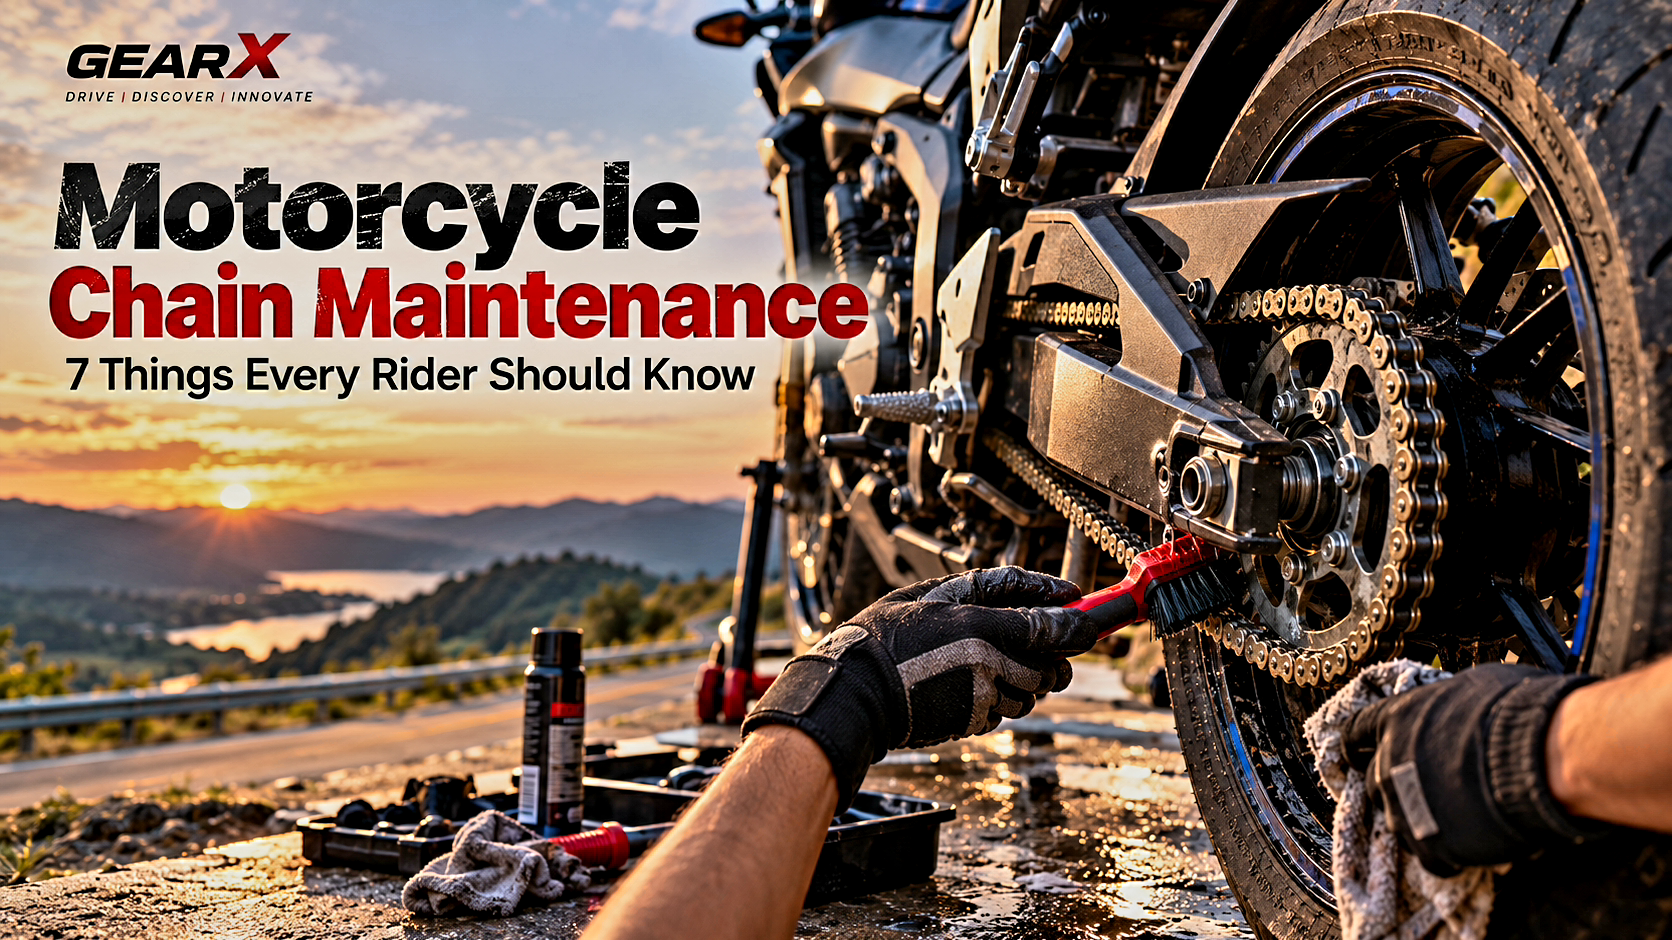
A motorcycle chain may look like a simple part, but it plays a major role in transferring engine power to the rear wheel. If the chain becomes too loose, too tight, dry, rusty, or badly worn, it can affect performance and may eventually damage other drivetrain components.
The good news is that basic motorcycle chain maintenance is not complicated. Regular inspection, cleaning, lubrication, and correct adjustment can help keep the chain and sprockets working properly.
Here are 7 important things every motorcycle rider should know about chain maintenance.
1. Check Your Chain Slack Regularly
Chain slack is the amount of movement the chain has when you push it up and down.
There is no single universal slack measurement for every motorcycle. The correct value depends on the motorcycle model, so the owner’s manual should always be your reference.
For example, Honda manuals specify different chain-slack measurements for different models, while Yamaha manuals also provide model-specific limits. (Honda Powersports)
To check it:
- Park the motorcycle on a firm, level surface.
- Turn the engine off and put the transmission in neutral.
- Check the chain at the manufacturer’s specified measuring point.
- Push the chain up and down.
- Compare the measurement with your owner’s manual.
Also check the chain at several points. If some sections are much tighter or looser than others, the chain may have worn or binding links. Honda specifically recommends checking for inconsistent slack. (Honda Powersports)
Why does chain slack matter?
A chain that is too loose can slap around, while incorrect tension can put additional load on the drivetrain. Yamaha warns that incorrect drive-chain slack can contribute to chain slippage or breakage and can damage surrounding components. (Yamaha Motor)
So don’t adjust the chain based on a random number you found online. Use your motorcycle’s specified measurement.
2. Clean the Chain Before Lubricating It
Adding lubricant to a chain covered in dirt and old residue isn’t a substitute for cleaning.
Road dust, mud and other debris can become abrasive and contribute to wear on the chain and sprockets. Regular cleaning is therefore an important part of drivetrain maintenance. (RevZilla)
A basic cleaning process is:
- Let the chain cool if you’ve just been riding.
- Use a suitable motorcycle chain cleaner or the cleaning method recommended by your motorcycle/chain manufacturer.
- Use a soft or appropriate chain brush.
- Work around the entire chain.
- Wipe away the loosened dirt.
- Allow the chain to dry before applying lubricant.
For sealed chains such as O-ring, X-ring or Z-ring chains, be careful with aggressive cleaning methods. Yamaha specifically warns against using steam cleaners, high-pressure washers or inappropriate solvents because they can damage the seals. (Yamaha Motor)
3. Use the Right Chain Lubricant
After cleaning and drying the chain, lubrication helps protect the chain from corrosion and reduces friction at the drivetrain.
Modern sealed chains already contain grease inside their sealed areas. The external lubricant is still useful for protecting the chain and reducing friction around the moving components. (RevZilla)
A few simple rules:
- Use a lubricant designed for motorcycle drive chains.
- Apply it evenly rather than flooding the chain.
- Allow excess lubricant to settle or wipe away excess according to the product instructions.
- Avoid getting lubricant on the tires or brake components.
Yamaha’s maintenance guidance specifically recommends a suitable O-ring chain lubricant for applicable sealed chains. (Yamaha Motor)
4. Don’t Ignore Rust, Stiff Links or Damaged Seals
While cleaning the chain, don’t just look at how dirty it is.
Look closely for:
- Rust
- Damaged O-rings/X-rings
- Kinked links
- Stiff links
- Missing or damaged master-link components
- Excessive side-to-side movement
- Uneven chain movement
A chain that doesn’t move smoothly can indicate a problem.
Honda advises riders to inspect the chain at multiple points and have it checked if the slack is inconsistent because some links may be kinked or binding. (Honda Powersports)
If you find significant damage, don’t assume that more lubricant will solve the problem. A damaged chain needs proper inspection and potentially replacement.
5. Check the Sprockets Too
One common mistake is focusing only on the chain.
The chain and sprockets work together, so both should be inspected.
Look at the sprocket teeth for signs of abnormal wear. Severely worn sprocket teeth can become pointed or develop a hooked appearance instead of maintaining their normal profile.
RevZilla’s maintenance guidance recommends checking the sprockets while inspecting the chain and notes that installing a new chain against worn sprockets can accelerate wear. (RevZilla)
If both the chain and sprockets are significantly worn, replacing only the chain may not solve the underlying problem.
6. Know When Your Chain Needs More Than Cleaning
A dirty chain isn’t necessarily a worn-out chain.
You need to distinguish between maintenance problems and wear problems.
A chain may need closer inspection if you notice:
- Excessive slack
- Tight and loose spots
- Kinked links
- Excessive side-to-side movement
- Difficulty moving the chain smoothly
- Visible rust or damaged seals
- The chain lifting noticeably away from the rear sprocket
One practical inspection method is to pull the chain away from the rear sprocket and look for excessive separation. A recent RevZilla guide explains that significant separation can indicate chain and sprocket wear. (RevZilla)
However, the most reliable replacement criteria are the manufacturer’s service specifications. Don’t rely on a visual test alone when your owner’s manual provides a specific wear limit.
7. Your Riding Conditions Change How Often You Need Maintenance
There isn’t one perfect maintenance interval for every rider.
Someone riding mostly on clean, dry roads will expose the chain to different conditions than someone regularly riding through:
- Rain
- Mud
- Dust
- Sand
- Construction areas
- Flooded or wet roads
Yamaha specifically notes that drive chains can wear more quickly in dusty or wet conditions and recommends lubrication after washing the motorcycle or riding in rain or wet areas. (Yamaha Motor)
That’s why your motorcycle’s owner’s manual should be your starting point, with additional maintenance when your riding conditions demand it.
How Often Should You Clean and Lubricate a Motorcycle Chain?
The exact interval depends on the motorcycle, chain, lubricant and riding conditions.
Instead of following a universal number, use this simple approach:
Check → Clean when dirty → Lubricate when needed → Inspect for wear
If you’ve ridden through heavy rain, mud or particularly dirty conditions, inspect the chain sooner rather than simply waiting for your normal maintenance interval.
For example, RevZilla recommends paying attention to whether the chain looks or sounds dry and notes that wet or dirty riding may require more frequent attention. (RevZilla)
Common Motorcycle Chain Maintenance Mistakes
Using too much lubricant
More lube doesn’t automatically mean better protection.
Excess lubricant can attract dirt and create a messy buildup, particularly on sealed chains. (RevZilla)
Ignoring the sprockets
A new chain cannot compensate for severely worn sprockets.
Adjusting the chain without checking the manual
Different motorcycles require different slack measurements. Even motorcycles from the same manufacturer can have different specifications. (Honda Powersports)
Using aggressive cleaning methods
High-pressure washing or inappropriate solvents can damage sealed-chain components. (Yamaha Motor)
Waiting until something goes wrong
Chain maintenance is much easier when you catch problems early.
Quick Motorcycle Chain Maintenance Checklist
Before a longer ride, take a moment to check:
☐ Chain slack is within the manufacturer’s specification
☐ Chain moves smoothly
☐ No obvious rust or damaged seals
☐ No severely kinked or stiff links
☐ Chain isn’t excessively dirty
☐ Chain has appropriate lubrication
☐ Sprocket teeth don’t show obvious abnormal wear
☐ Master link appears secure
☐ No unusual chain noise or drivetrain behavior
If something looks significantly wrong, don’t treat it as a simple lubrication issue. Have the motorcycle inspected by a qualified technician.
Final Thoughts
Motorcycle chain maintenance doesn’t have to be complicated.
The basic formula is simple:
Inspect → Clean → Dry → Lubricate → Check Slack → Inspect Sprockets
The most important part is consistency. A few minutes spent checking the chain regularly can help you catch excessive wear, damaged components or incorrect tension before they become bigger problems.
And remember: your motorcycle’s owner’s manual always takes priority over a generic maintenance guide, especially when it comes to chain slack, adjustment procedures and replacement limits.
Important Note
This article is a general maintenance guide, not a substitute for your motorcycle’s owner’s manual or professional service. Chain slack specifications, cleaning procedures and service intervals vary by motorcycle model. The recommendations above were checked against manufacturer maintenance documentation from Honda and Yamaha, along with established motorcycle-maintenance guidance from RevZilla. (Honda Powersports)