
 Imtiaj Hossain
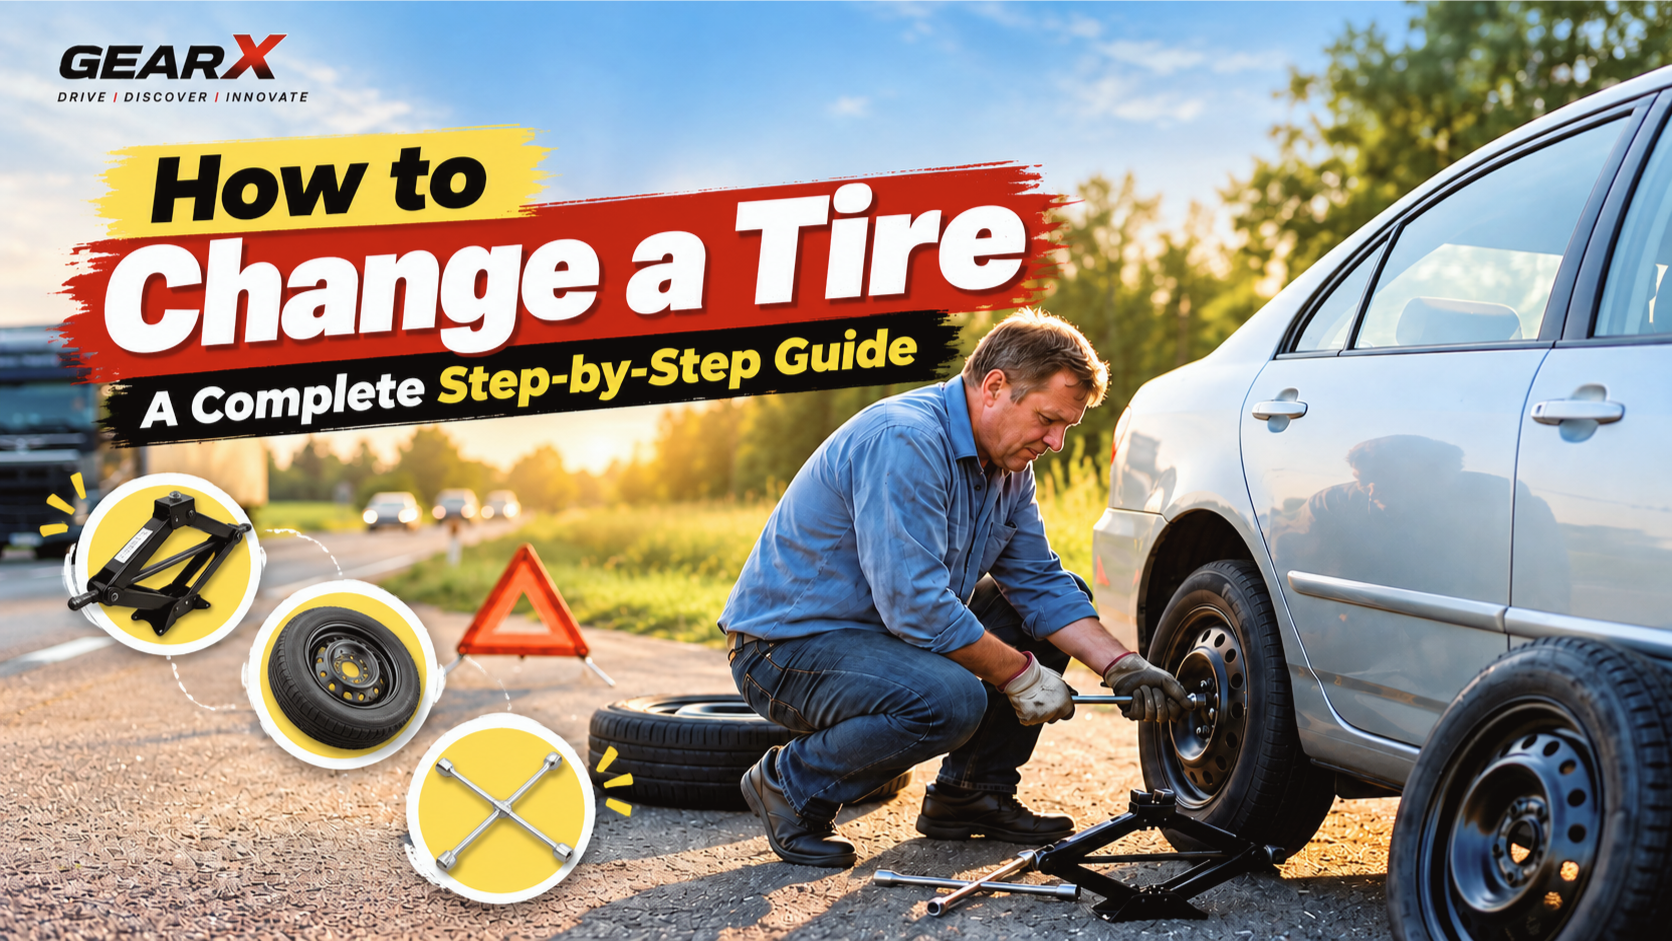
A flat tire can happen almost anywhere—on a highway, during a road trip, in a parking lot, or on a quiet road far from a repair shop.
Knowing how to change a tire can save you time and help you get back on the road when professional roadside assistance isn’t immediately available. But changing a tire is also a safety task. If you’re stopped somewhere dangerous, on a narrow highway shoulder, or don’t have the right equipment, calling for help is safer than attempting the repair yourself.
In this guide, we’ll walk through how to change a flat tire, what tools you need, how to use the jack safely, how to install a spare, and what you should do before driving away.
What You Need to Change a Tire
Before you have a flat, make sure you know whether your vehicle actually carries the necessary equipment.
At minimum, you’ll generally need:
- A spare tire or manufacturer-approved temporary spare
- A vehicle jack
- A lug wrench
- Your owner’s manual
- A working flashlight if visibility is poor
- Gloves
- Hazard warning lights
Some vehicles don’t come with a spare tire. They may instead have a tire repair kit, inflator, run-flat tires, or roadside-assistance service.
Check your owner’s manual and locate the jack and spare before you need them.
Michelin recommends checking that the spare is present and properly inflated before an emergency, rather than discovering a problem after a flat occurs. (Michelin)
Before You Change the Tire, Find a Safe Place
This is the most important step.
If you feel a tire suddenly lose pressure while driving, don’t immediately try to stop in the middle of the road.
Hold the steering wheel firmly, reduce your speed gradually, and look for a safe place away from moving traffic. NHTSA recommends stopping on a firm, level and non-slippery surface when changing a flat. (NHTSA Static)
Once stopped:
- Turn on your hazard lights.
- Put the transmission in Park (P) if you have an automatic.
- Apply the parking brake.
- Turn off the engine.
- Keep passengers away from traffic.
- If the location is unsafe, don’t change the tire yourself.
A wide, flat parking area is much better than a narrow highway shoulder.
If you’re on a busy highway and have access to roadside assistance, calling for help may be the safest option.
Step 1: Gather the Spare Tire and Tools
Open the trunk or cargo area and find:
- Spare tire
- Jack
- Lug wrench
- Jack handle or extensions
- Wheel-lock key, if your vehicle uses locking lug nuts
Some vehicles store the spare underneath the cargo floor, while others mount it underneath the vehicle.
Your owner’s manual should show the exact locations.
Before installing the spare, check its condition and inflation pressure. NHTSA recommends checking spare-tire pressure as part of regular tire maintenance. (NHTSA)
Don’t assume the spare is ready simply because it has never been used.
Spare tires can age while sitting unused.
Step 2: Loosen the Lug Nuts Before Jacking Up the Car
This is one of the most important parts of how to change a tire correctly.
Remove the wheel cover or hubcap if necessary.
Then place the lug wrench onto the first lug nut and turn it counterclockwise to loosen it.
But don’t remove the lug nuts completely yet.
Loosen each lug nut slightly while the tire is still touching the ground.
Why?
The weight of the vehicle keeps the wheel from turning while you apply force to the lug wrench.
Michelin also recommends loosening the lug nuts before raising the vehicle. (Michelin)
If a lug nut is extremely tight and you cannot loosen it safely, don’t jump on the wrench or use an improvised extension. You could damage the wheel hardware or lose your balance.
Step 3: Find the Correct Jacking Point
This is where your owner’s manual becomes extremely important.
Vehicles have specific points where the jack is designed to contact the body or frame.
Do not place the jack wherever it looks convenient.
Using the wrong location can damage the vehicle or cause the jack to slip.
Position the jack on firm, level ground and make sure it is correctly aligned with the manufacturer’s designated jacking point.
NHTSA guidance for changing a flat specifically calls for a firm, level and non-slippery surface, and its materials emphasize using the vehicle’s specified equipment and procedures. (NHTSA Static)
Step 4: Raise the Vehicle Carefully
Once the jack is correctly positioned, begin raising the vehicle.
Raise it slowly.
Keep your hands, feet and body away from underneath the vehicle.
You only need to raise the vehicle enough for the flat tire to clear the ground.
Never get underneath a vehicle supported only by a jack.
A jack is designed to lift the vehicle for tire-changing operations, not to serve as a substitute for proper vehicle supports during repairs.
If the jack begins to tilt, sink or move, stop immediately and lower the vehicle when it is safe to do so.
Step 5: Remove the Flat Tire
Now that the tire is off the ground:
- Remove the loosened lug nuts completely.
- Put the lug nuts somewhere clean so they don’t get lost.
- Hold the tire with both hands.
- Pull it straight toward you.
If the wheel is stuck to the hub because of corrosion, don’t put yourself underneath the vehicle or use dangerous improvised methods to force it loose.
If you cannot safely remove it, roadside assistance is the better option.
Once removed, place the flat tire somewhere stable rather than leaving it in the traffic lane.
Step 6: Install the Spare Tire
Take the spare tire and line up its mounting holes with the wheel studs or hub.
Push the wheel onto the hub as far as it will go.
Then install the lug nuts by hand.
At this stage, don’t fully tighten one lug nut while leaving the others loose.
Instead, tighten them gradually in an opposite or cross pattern so the wheel seats evenly.
Michelin recommends tightening opposing lug nuts rather than working around the wheel in a circle. (Michelin)
Step 7: Lower the Car and Tighten the Lug Nuts
Lower the vehicle carefully until the spare tire is firmly touching the ground and the vehicle’s weight is no longer fully supported by the jack.
Then remove the jack according to your vehicle’s instructions.
Now tighten the lug nuts again in a cross pattern.
The correct final tightening torque depends on the vehicle.
Don’t guess the torque.
Check the owner’s manual or the manufacturer’s specifications.
A torque wrench is the best way to confirm the correct torque. Michelin specifically recommends using a torque wrench and having the wheel checked by a tire professional if you don’t have one available during the roadside change. (Michelin)
Step 8: Check the Spare Before Driving
Before driving away, check:
- Is the spare properly seated?
- Are all lug nuts installed?
- Are they tightened?
- Is the spare properly inflated?
- Is the spare a temporary compact spare?
- Are there speed or distance restrictions printed on it?
This last point is extremely important.
A compact spare is not a normal replacement tire.
Some compact spares have specific speed and distance limitations. The exact limits depend on the vehicle and spare tire, so follow the markings on the spare and your owner’s manual.
NHTSA documentation for one compact-spare application specifies a maximum of 50 mph (80 km/h), illustrating why drivers should follow the specific spare’s instructions rather than assume all temporary spares have identical limits. (NHTSA Static)
How Long Does It Take to Change a Tire?
For someone who has practiced before, changing a tire can take around 20 minutes, according to Michelin. (Michelin)
However, real-world conditions can make it take much longer.
For example:
- First-time tire change
- Dark or rainy conditions
- Extremely tight lug nuts
- Corroded wheel
- Soft ground
- Heavy traffic
- Poor access to the spare
- Missing tools
Don’t rush the process simply because you want to get back on the road.
Safety is more important than speed.
How Far Can You Drive on a Spare Tire?
That depends on the type of spare.
Full-size spare
A full-size spare that matches the vehicle’s regular tires can generally be used more normally, but you should still repair or replace the damaged tire as soon as practical.
Compact temporary spare
A compact spare—or “donut”—is designed for temporary use.
It may have restrictions on:
- Maximum speed
- Maximum distance
- Handling
- Traction
- Vehicle stability
Michelin advises treating temporary spares as emergency equipment rather than everyday tires. (Michelin)
The exact limitations should come from the spare’s sidewall and the vehicle owner’s manual.
What Should You Do With the Flat Tire?
Don’t automatically throw the damaged tire away.
Take it to a qualified tire shop for inspection.
A puncture in the tread may sometimes be repairable, depending on its location, size and the tire’s overall condition. Damage to the sidewall or certain types of structural damage may require replacement. Michelin’s 2026 guidance notes that many small tread punctures can be repairable when assessed and repaired using appropriate procedures, while sidewall damage generally requires replacement. (Michelin)
The important point is:
Don’t decide whether a tire is repairable just by looking at the hole from the outside.
A professional inspection is safer.
What If You Don’t Have a Spare Tire?
Not every modern vehicle has a spare.
Some vehicles come with:
- Tire-inflation kits
- Sealant and compressor systems
- Run-flat tires
- Roadside-assistance programs
If your car doesn’t have a spare, check the manufacturer’s recommended procedure.
Don’t assume that a tire-inflation kit can repair every type of puncture.
For example, significant sidewall damage generally cannot be treated the same way as a small tread puncture. (Michelin)
Can You Change a Tire on the Highway?
Technically, you may be able to change a tire on a highway shoulder.
But that doesn’t mean you should.
A highway shoulder can be extremely dangerous because vehicles are passing at high speeds and drivers may not see you until it’s too late.
If you have only a narrow shoulder, poor visibility, heavy traffic, bad weather, or another unsafe condition, call roadside assistance instead.
NHTSA’s tire guidance emphasizes tire safety and emergency preparedness, while Michelin specifically advises against attempting a tire change when doing so puts you or passengers at risk. (NHTSA)
Common Mistakes to Avoid
Using the wrong jack point
This can damage the vehicle or make the jack unstable.
Removing lug nuts before loosening them
The wheel can rotate while you try to loosen the nuts.
Working on soft ground
The jack can sink or become unstable.
Getting underneath a jacked-up vehicle
Never do this with only the vehicle jack supporting the car.
Forgetting the spare’s pressure
A spare that’s been sitting in the trunk for years may not be properly inflated.
Driving too fast on a compact spare
Follow the speed limitation printed on the spare and in your owner’s manual.
Leaving the damaged tire unrepaired
A spare is a temporary solution. Get the original tire inspected as soon as practical.
Guessing the lug-nut torque
Use the vehicle manufacturer’s specified torque and have the wheel checked with a torque wrench when possible. (Michelin)
What to Keep in Your Car for a Flat Tire
A small roadside kit can make a major difference.
Consider keeping:
- Tire pressure gauge
- Flashlight
- Spare tire
- Jack
- Lug wrench
- Work gloves
- Reflective warning device
- Phone charger
- Basic first-aid kit
- Small ground board for the jack when appropriate
NHTSA also recommends carrying emergency equipment such as a phone and charger, flashlight, tire-pressure gauge, jack, ground mat and work gloves. (NHTSA)
How to Prevent Flat-Tire Problems
Learning how to change a tire is useful, but preventing tire problems is even better.
Check your tire pressure regularly.
NHTSA recommends checking tire pressure at least once a month when the tires are cold and says the correct pressure is found on the vehicle’s tire-information label or in the owner’s manual—not the maximum pressure printed on the tire sidewall. (NHTSA)
Also inspect your tires for:
- Cuts
- Cracks
- Bulges
- Punctures
- Uneven tread wear
- Low tread depth
- Other visible damage
And don’t forget the spare.
A spare that has been sitting unused can also age over time. (NHTSA)
Quick Tire-Changing Checklist
If you need to change a flat tire, remember this sequence:
1. Get somewhere safe.
2. Turn on hazard lights.
3. Apply the parking brake.
4. Put the transmission in Park.
5. Find the spare and tools.
6. Loosen the lug nuts slightly.
7. Position the jack at the correct jacking point.
8. Raise the vehicle carefully.
9. Remove the lug nuts and flat tire.
10. Install the spare.
11. Tighten the lug nuts in a cross pattern.
12. Lower the vehicle.
13. Tighten the lug nuts to the manufacturer’s specification.
14. Check the spare’s pressure and limitations.
15. Drive carefully to a tire professional for repair or replacement.
Final Thoughts
Knowing how to change a tire is one of those basic driving skills you may not use often—but when you need it, knowing what to do can make a stressful situation much easier.
The most important part isn’t simply knowing how to operate the jack. It’s knowing when it’s safe to do the job yourself.
If you’re on a safe, level surface and have the correct spare and tools, you can follow the vehicle manufacturer’s procedure to replace a flat tire.
But if you’re stranded in an unsafe location, especially on a busy highway, don’t put yourself at unnecessary risk just to avoid a roadside-assistance call.
And once the spare is installed, remember that it is usually a temporary solution. Check its pressure, follow its speed and distance restrictions, and have the original tire inspected as soon as possible.
Important Note
This guide is based on current tire-safety guidance from NHTSA and Michelin, including Michelin’s July 2026 update to its tire-changing guidance. Exact jack points, lug-nut torque, spare-tire limits and tire-changing procedures vary by vehicle, so always follow your owner’s manual for model-specific instructions. (NHTSA)